The inspiration
I recently came across this animation by Andreas Bjørn Hansen (an animator at BUCK) and was curious how he created the illusion of a 3D cube to fit the piece's 2D design aesthetic.
I soon found out it is deceptively simple in it's presentation. In this article I am going to explain three ways that I was able to recreate the rotating cube animation*, each solution increasing in difficulty but at the same time allowing for more control.
*I won't be covering the character animations themselves, just the cube that spins and reveals them!
The hope is by following each solution you can get a sense of how I went about solving this problem. If you think that's unnecessary (totally fair!) feel free to skip around.
The three solutions are:
The introduction will walk you through the steps to create the master file that the three solutions start from. Note:
The breakdown
Let's break down the animation so that we have some common vocabulary. Things might get a little complicated to follow later so these terms will be our guide. 🤠
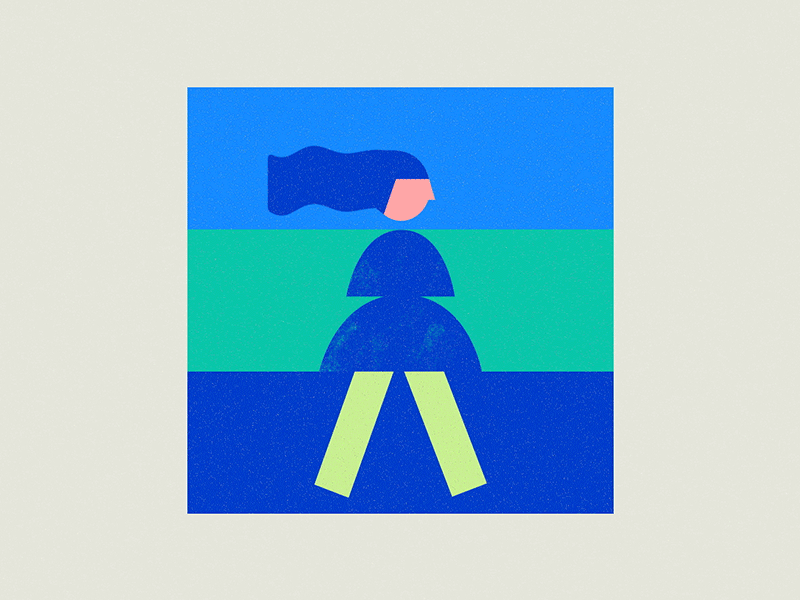
To start, the animated cube consists of three sections; a top, a middle, and a bottom.
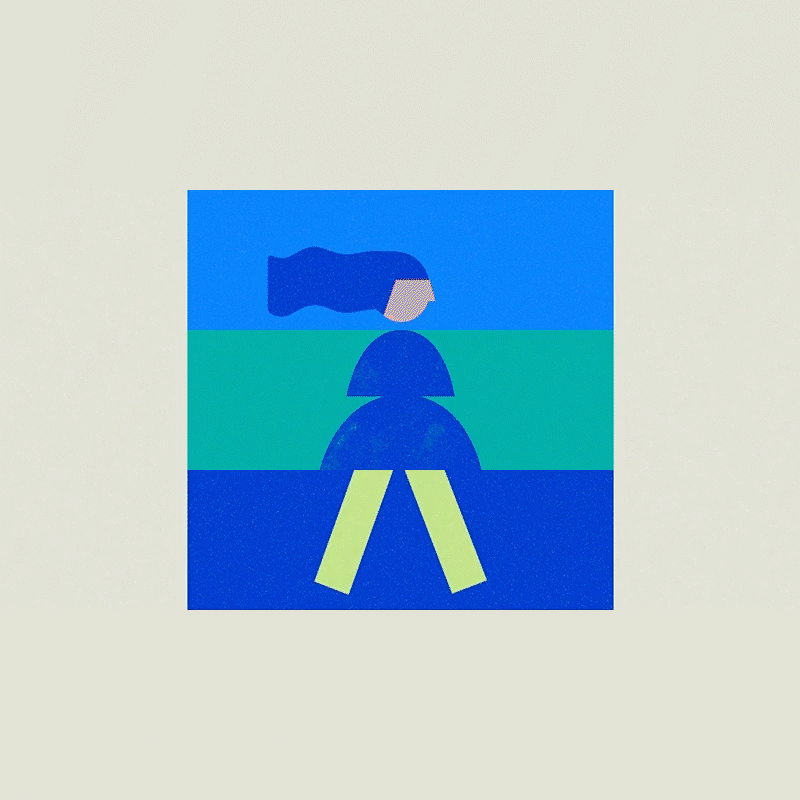
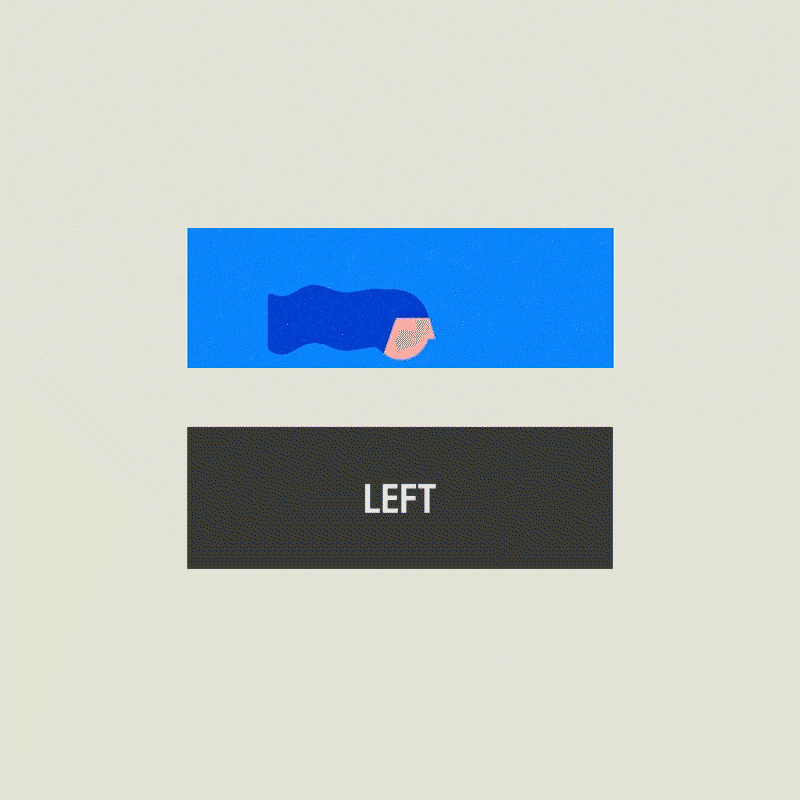
It may also be worth noting that we only ever see three sides of each section; a center, a right, and a left!
Each side of each section is playing its own animation, so, with 3 sections × 3 sides that makes 9 animations in total.
In this article I won't be covering the animations themselves, just the cube that presents them, but taking a moment to think about their application will help us build out our initial setup.
What do I mean by that?
Well, we could imagine that each one of these animations is not actually a dismembered body part of some being. There isn't an animation of just a head, or torso, or legs.
Instead, somewhere exists an animation of a complete, fully connected character—we are just seeing ⅓ masked out and placed in either the top, center, or bottom section.
This is important because it determines how we will set up our project. This means that each side of our sections will have the same height and width as the entire cube BUT we'll only be seeing ⅓ masked out.
Okay, we may be getting ahead of ourselves. Before we get set up, let's simplify our problem a little, ya?
Okay, let's simplify
Whoa, 3 sections with 3 sides each (totalling 9 animations) spinning around randomly is a lot to comprehend!
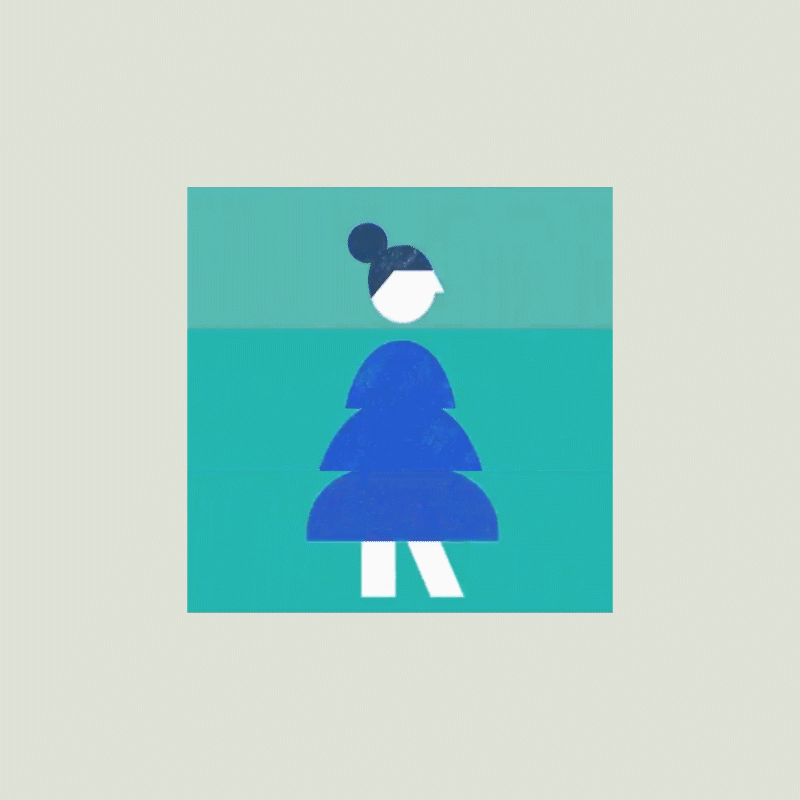
Luckily, if we look at our example again, we can see that each section (top, middle, and bottom) are performing nearly identical animations. They all move like the animation below, they just have different artwork inside each side.

So, for now, let's just forget about two of them, deal? Great.
Once we solve for one of the sections we can duplicate it (and offset the timing) to achieve the final result.
Just so we are on the same page, to start with I am going to be recreating the middle section. Feel free to start elsewhere, but know that some of the steps will be specifically referring to the middle section and its properties (its Position, Anchor Point, etc.)
Let's get set up!
First things first, we need to create the three compositions that will house our potential animations. For the sake of this article they will just contain a background and a static number, but later you can drop whatever you like inside.
As we talked about above these animations are of full characters so while they look to be only ⅓ of the cube's side they should really be 100% of the cube's side, also known as a square, hehe!
Here we go!
The middle section of our cube is complete! Now that we have everything organized we can start animating.
Just a reminder, from this Master composition we will create 3 solutions:
Now that you've completed the master file, you're ready to jump in! Head back to the top to choose your path!Quick Look
- Beginner~20min
- Intermediate~1hr
- Advanced~2hr
- Skills3D Layers, Master Properties, Masks